Blog
How to photograph shiny metallic products?

How to photograph shiny metallic products?
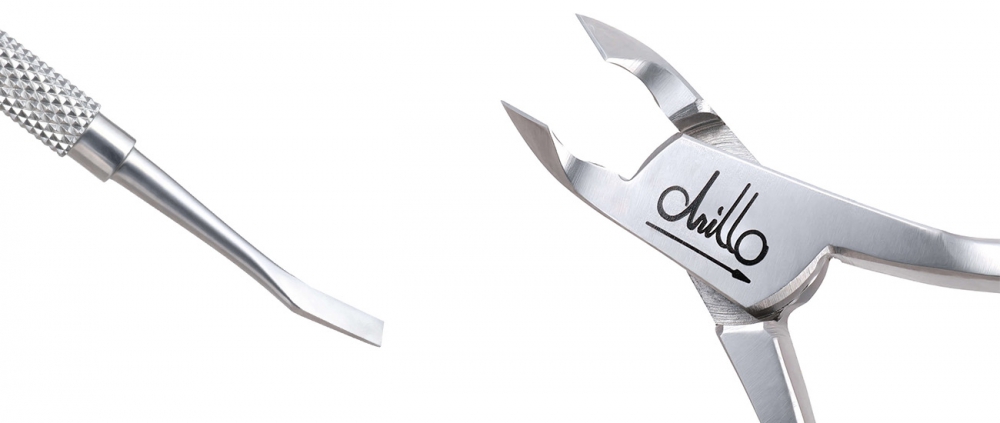
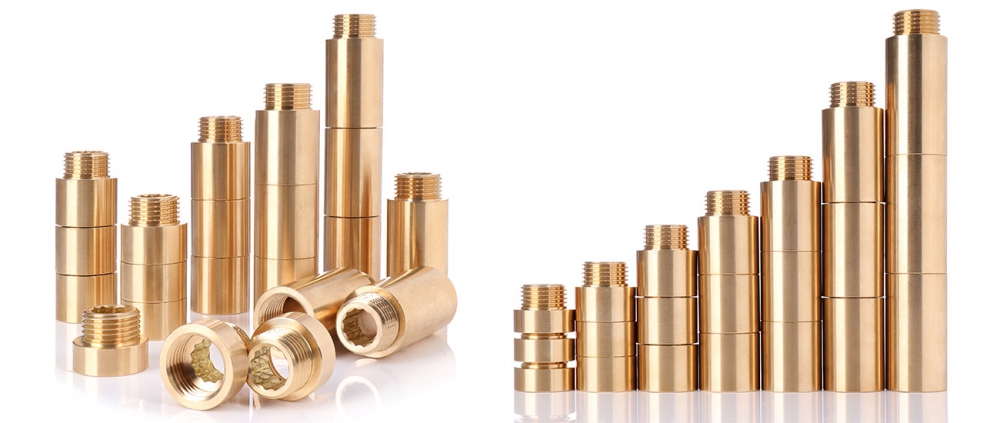
Photographing shiny metallic objects can be tricky even for experienced photographers. Vendors want their customers to see an accurate image of the product that doesn't distract or falsify its true appearance. Unfortunately, the surface of an object like a mirror pulls all reflections from the surroundings, which can interfere with proper perception. In this article, we will introduce you to techniques for taking photos of objects with reflective surfaces.
The right environment and light source
The main problem with photographing shiny surfaces is that they do not absorb rays. So you need to focus on removing other objects from the scene and filling the space around the photographed product with as much diffused light as possible.
This can be accomplished in three basic ways:
- Take photos in a room with white walls-you will avoid the color of the walls or wallpaper from reflecting and appearing in the product photo.
- Use a constant light source-continuous lighting is beneficial because it allows you to see the effect of your adjustments and their effect on reflections "on the fly."
- Use a diffuser - this uses and diffuses light from a single source. It helps fill the space around the subject with more light, "softening" it and making the shadows in the resulting image less harsh

Three lighting configurations
Camera at an angle of about 45 degrees to the product. In order to eliminate ambient reflections on the photographed object, you need to replace them with reflections from the light source. To do this, place the diffuser at the same angle and position as the camera, but on the "opposite side," as if in a mirror image.
Shooting straight ahead at 0 degrees. The diffuser must be as close as possible to the front of the subject being photographed. Why? Because the surface of the product will act like a mirror and everything in front of it will become visible.
Two diffusers on either side of the camera with a small gap for the lens.
Check how the object looks in the camera - you should see the reflection of the white diffusion panel on its surface. To make adjustments, you can change the angle of the diffusers until you achieve a positive result.
Tent as a way to deal with glare
The way to deal with the appearance of unwanted glare on the surface of the product is to remove all light sources from the room. Such an action, however, will prove illogical, as you would deprive yourself of the illumination necessary to take a photo. Therefore, we suggest using a tent - a space enclosed on all sides with walls of white color, usually made of fabric. The tent has an opening for the camera, and theoretically only the reflection of the lens could appear on the shiny surface of the object. Since this would be a very small spot, it could easily be removed in post-production.
Despite the seemingly perfect conditions provided by the product photography tent, in the case of shiny surfaces - such as chrome - it has a disadvantage - the total absence of reflections flattens the subject, taking away its roundness or sphericity. The cure for this is to introduce objects that create controlled reflections. This is a rather difficult task, requiring many trials to gain practical experience.

Camera settings
When doing any kind of product photography, we recommend using a camera tripod to get the sharpest images possible. Since we use continuous light to photograph shiny objects, we have to use a fairly long exposure time. This makes a tripod even necessary.
Set the camera to aperture mode and choose an aperture value. Generally speaking, the best idea is to get the subject as sharp as possible, so an aperture of f/8, f/11 or f/16 will promote good depth of field. If you want a shallow depth of field, use a setting of f/2.8 or wider. Next, choose an ISO sensitivity of about 100-400 to get the best image quality. Once you've made these settings, the camera will choose the appropriate shutter speed for the exposure, which will depend on the power of the light source.
Background
Most product photography is done with a plain white background. However, if you would like to use a different color for your photos, there will be no problem with that. Just make sure that the glossy product you are photographing is at a certain distance from the background, as some of the reflected light may cause that color to appear on the object's surface.
In case you plan to use a plain white background and are photographing the subject at 0 degrees, that is, straight ahead, you should use an additional light source aimed at the area outside the subject. For this purpose, a flash is preferable, as it will provide a flare of high power.
Sticking to the above tips will result in photos of objects with a glossy surface, which will allow the viewing customer to see all the details of the product well and learn how it reacts to light.

Adam
Specjalista ds. marketingowo-handlowych
Specjalizuje się w działaniach marketingowych i handlowych.